

A Singapore Changi Airport self-transfer can make an attractive flight deal more complicated than it first appears. Your next departure may be in the same airport, but separate tickets can leave you responsible for collecting luggage, entering Singapore and checking in again before the second airline’s deadline.
The key is to understand your connection before booking: can the airlines confirm an airside transfer, or will you need to complete a full arrival and departure? This guide covers the checks that matter, practical time buffers and the six steps to follow when collecting and rechecking your bags.
Singapore Changi Airport Self-Transfer: Quick Answer
For a Singapore Changi Airport self-transfer, plan to clear arrival immigration and check in again unless your airlines confirm that your exact itinerary can be completed airside. Travelling with hand luggage and an online boarding pass does not automatically confirm eligibility.
As a cautious starting point, allow around 4–5 hours for a landside connection with hand luggage only, and longer if you need to collect checked bags or transfer between terminals.
Airside vs Landside: Airside is the restricted transit area where eligible passengers connect without entering Singapore. Landside is the public area outside arrival immigration and customs, including the departure check-in halls.
What Counts as a Self-Transfer at Changi?
A self-transfer means you are responsible for connecting independently booked flights. You might buy the tickets separately yourself, or a booking website might combine them into one purchase while labelling the journey “self-transfer”.
One payment does not necessarily mean the airlines protect the connection. Check whether a missed connection is covered by the airline itinerary, a separate booking-platform guarantee or neither.
Baggage handling and connection protection are also separate issues. Even if an airline agrees to send your bag onwards, confirm what assistance applies if a delay causes you to miss the next flight.
If you are travelling on a through-ticketed connection, our Singapore Changi Airport Transit Guide explains the standard transfer process.
Can You Self-Transfer Without Clearing Immigration?
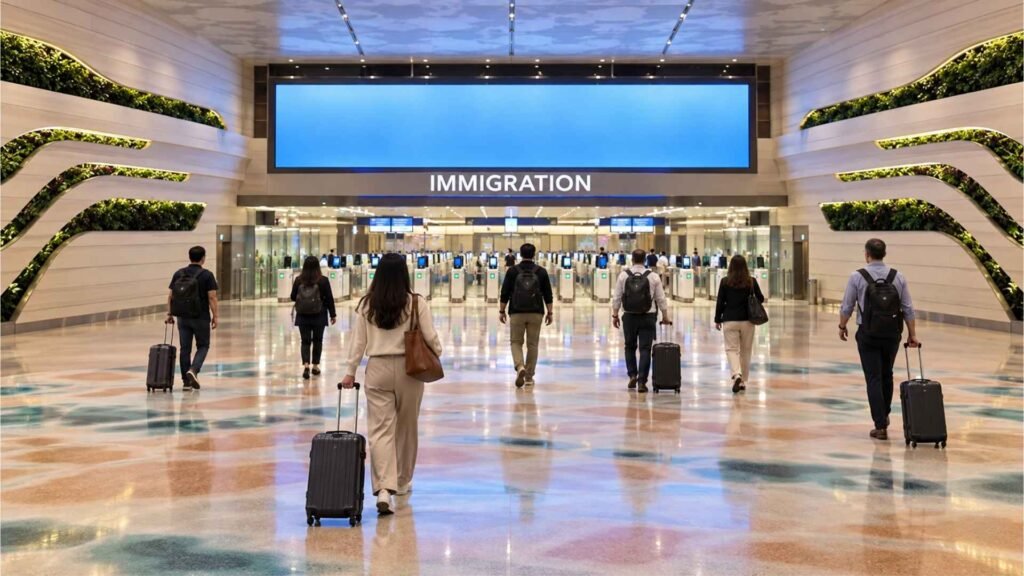
Changi’s published transit eligibility specifies flights in the same booking itinerary and checked baggage tagged to the final destination. Separate tickets therefore need individual confirmation rather than an assumption that the standard transit process applies.
ICA advises travellers to ask their airline whether their connection requires immigration clearance. If you need to collect baggage or obtain your onward boarding pass at a public-area check-in counter, you must meet Singapore’s entry requirements.
For a proposed airside self-transfer, ask both airlines to confirm:
- Whether they accept your exact separate-ticket connection.
- Whether you can obtain and use the onward boarding pass airside.
- Whether document checks require a visit to a landside counter.
- Whether checked baggage will require collection in Singapore.
- Whether your terminal combination creates additional restrictions.
Without clear confirmation, plan around a landside transfer. An online check-in confirmation is not always a boarding pass, and an issued boarding pass may still require document verification.
How Much Time Should You Allow for a Singapore Changi Airport Self-Transfer?
There is no single connection time that makes every separate-ticket itinerary safe. Work backwards from the relevant check-in, bag-drop and boarding deadlines, rather than using departure time as your target.
Use these planning buffers as a starting point:
| Transfer situation | Suggested scheduled gap |
|---|---|
| Hand luggage, landside check-in required | 4–5 hours |
| Checked baggage to collect and recheck | 5–6 hours |
| Baggage recheck plus a T4 terminal change | Consider 6–8 hours |
| Expensive, infrequent or essential onward flight | Consider an overnight stop |
These are our cautious planning recommendations, not official minimum connection times or guarantees. The longer T4 allowance combines arrival procedures, baggage handling, terminal transport, fresh check-in and a delay buffer; it does not mean the terminal journey itself takes several hours.
Allow more time when travelling with children, arranging assistance or connecting to a flight with few replacement options. Even an overnight gap cannot eliminate the risk of a major cancellation.
Why the Check-In Deadline Matters
Imagine an arrival scheduled for 12:00 and an onward flight at 17:00. If the second airline closes its check-in counter at 16:00, you have four scheduled hours to reach that deadline. A two-hour inbound delay leaves only two hours for disembarking, immigration, baggage collection and reaching the counter.
Scoot, for example, lists check-in counter closure at 60 minutes before scheduled departure. Its automated bag-drop deadline can differ, so check the instructions for the service you will actually use.
Clara’s Tip
Before choosing the cheaper combination, add up both tickets, baggage fees, a possible overnight stay and the cost of replacing the onward flight. Ask yourself: would the saving still feel worthwhile if the first flight arrived two hours late? If the answer is no, consider a longer stopover or a protected itinerary.
Singapore Changi Airport Self-Transfer in 6 Steps
The following route applies when you must collect baggage or complete landside check-in. If your airlines have explicitly confirmed an airside arrangement, follow their transfer instructions instead.
1. Confirm Your Baggage and Onward Check-In Arrangements
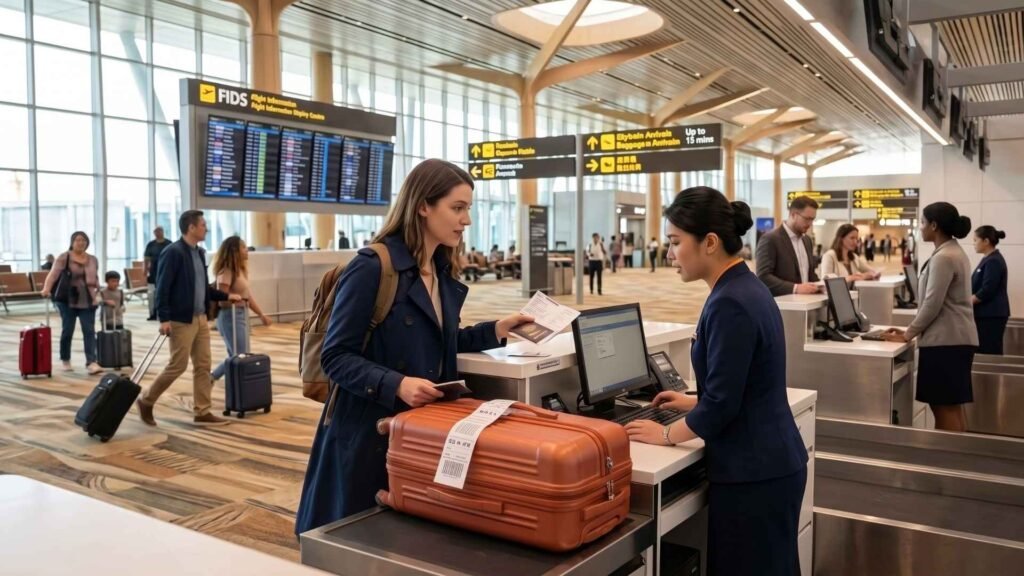
At your first departure airport, show the onward booking and ask where your checked bag will be delivered. Inspect the baggage receipt: if SIN is the final destination printed on the tag, plan to collect the bag in Singapore.
Two flights on the same airline do not automatically include baggage transfer when booked separately. Scoot, for example, states that checked bags on separate booking itineraries are not automatically transferred; passengers must collect and recheck them.
Keep both booking references, baggage receipts and the onward airline’s check-in instructions accessible offline. Resolve any uncertainty before boarding your first flight wherever possible.
2. Clear Arrival Immigration
Follow the arrival route if your connection requires entry into Singapore. Arrival immigration comes before baggage reclaim, so you need to meet the entry conditions even if you only intend to collect a suitcase and check in again.
For most foreign visitors, this means a passport with at least six months’ validity, any required visa and evidence of onward travel. Check Singapore’s official entry requirements before booking a connection that depends on entering the country.
Submit the SG Arrival Card within the three-day window that includes your arrival date. For an arrival on 10 October, you can submit it from 8 October. Submission is free, and the card is not a visa.
Health conditions can also depend on your route. A yellow fever vaccination certificate is required for travellers with relevant travel in risk countries during the previous six days, including airport transit exceeding 12 hours in those countries.
Passengers remaining airside without seeking immigration clearance are exempt from the SG Arrival Card requirement.
3. Collect Your Bags and Clear Customs
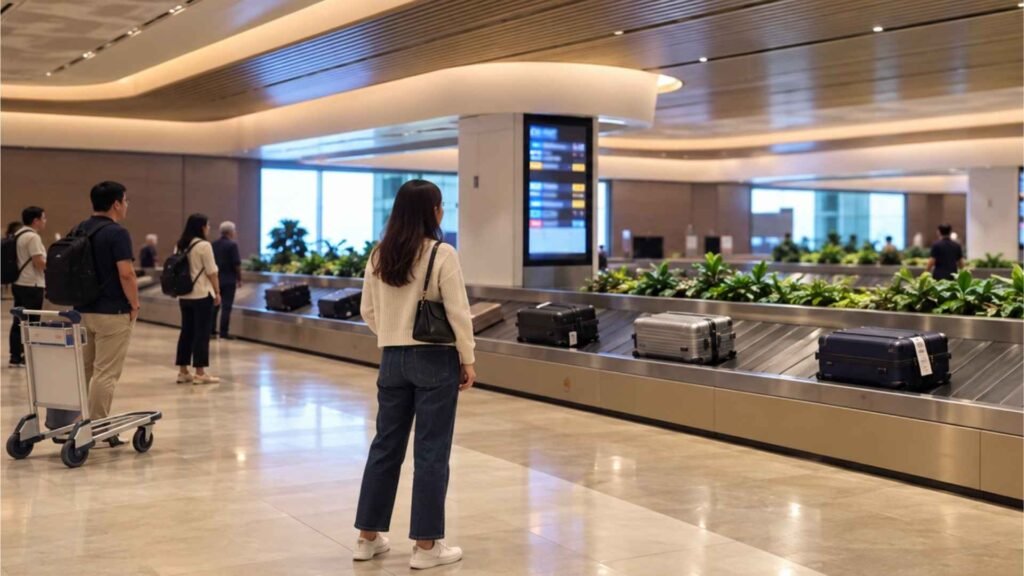
Find your flight’s baggage belt and collect all checked items before leaving the reclaim area. If a bag is missing, report it to the relevant baggage service desk and explain that you have a separately booked onward flight.
Ask how delivery will be arranged, provide your onward itinerary and retain the report and contact details. Resolve the next steps with staff before leaving the baggage area.
Clear customs as required for entry into Singapore. A short stay between flights does not remove declaration obligations. Our Singapore Changi Airport Arrival Guide explains the arrival process in more detail, including immigration, baggage reclaim and customs.
4. Reach Your Onward Departure Terminal
Check the operating airline, flight number and departure terminal again after landing. Use current flight information rather than relying solely on an old booking screenshot.
T1, T2 and T3 are connected by Skytrain and walking routes. Follow the signs for transport in the public area and allow time to reach the correct check-in row after arriving at your terminal.
For a connection involving Terminal 4, follow the transfer guidance in the T4 section below. You can also use the terminal overview in our Singapore Changi Airport Guide to familiarise yourself with the layout before travelling.
5. Check In Again and Drop Your Bags
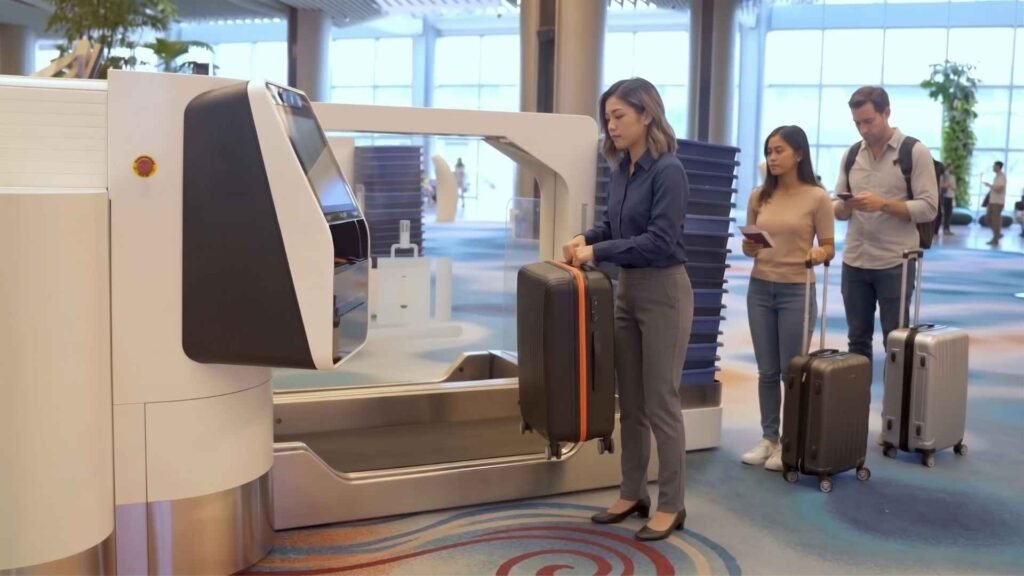
Go to the second airline’s check-in or bag-drop area. Have the documents required for your onward destination ready, even if the first airline has already checked your passport.
Your second ticket has its own baggage allowance. Compare the weight and size limits before travelling so that repacking or paying an unexpected charge does not eat into your connection time.
A long layover does not necessarily mean immediate bag drop is available. Confirm when your airline accepts bags and whether early check-in applies to your flight.
6. Complete Departure Formalities and Reach the Gate
After check-in, follow the signs to departure immigration and your assigned gate.
At T1, T2 and T3, security screening generally takes place at the gate or a shared gate area. At T4, screening takes place in a centralised security area after departure immigration. Allow time for the screening process that applies to your terminal.
Passing departure immigration does not mean every check is finished. Follow the airline’s boarding instructions and reach the gate with time to spare before its closing deadline.
What Changes If Your Self-Transfer Involves Terminal 4?
Changi’s published instructions say passengers transferring to T4 within the transit area should have an itinerary through-checked to their final destination. Confirm eligibility with your airlines before relying on that route with separate tickets.
For a landside connection, free public shuttle buses link T4 with the main terminal complex. Overnight services use a loop route, so allow for waiting and additional stops. Check current routes and operating details in Changi’s official terminal-transfer guide.
A public-area walking route also connects T2 and T4 via the Changi Airport Connector. This is different from an internal airside connection; for a self-transfer with luggage, we recommend planning around the shuttle.
Build your schedule around the complete journey to onward check-in, including finding the bus stop and walking inside both terminals. Even with hand luggage only, allow time for terminal transport and any required airline counter checks.
Planning an Overnight Self-Transfer
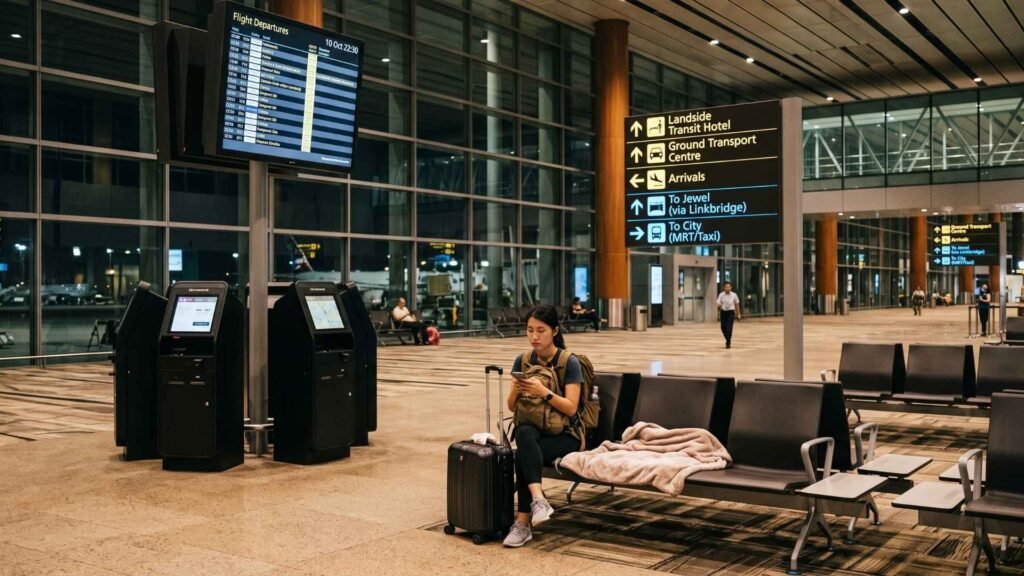
An overnight stop can provide more room to recover from a delay, but choose accommodation that fits your transfer route. If you must collect bags and wait for morning check-in, plan around landside access. Before booking an airside transit hotel, confirm that you can reach it under your flight and baggage arrangements.
Check the onward flight’s calendar date carefully. A departure at 00:30 on 11 October leaves shortly after midnight on the night of 10 October.
Jewel is in the public area and requires entry into Singapore. Visit only if your baggage arrangements and onward check-in schedule leave a comfortable margin.
What If Your First Flight Is Delayed?
Contact the onward airline or booking provider as soon as the connection looks doubtful. Ask about changes before becoming a no-show, and check whether missing the flight affects later segments in the same booking.
With separate tickets, free rebooking is not automatic. Any airline assistance, booking-platform protection or insurance reimbursement depends on the applicable terms.
If you bought a self-transfer guarantee, follow its contact and approval procedure before purchasing replacement travel. Keep delay notifications, receipts and written instructions.
For insurance, check specifically whether separately booked connections are covered and whether minimum connection-time conditions apply. A general reference to “missed departure cover” is not enough to establish that your itinerary qualifies.
Common Self-Transfer Mistakes to Avoid
- Choosing a short gap because both flights use the same airport.
- Treating online check-in as confirmation that every document check is complete.
- Checking Singapore entry requirements only after buying the tickets.
- Using departure time instead of check-in and boarding deadlines.
- Spending the available delay buffer on shopping or sightseeing.
Frequently Asked Questions About Singapore Changi Airport Self-Transfer
Is a Singapore Changi Airport Self-Transfer Possible on Separate Tickets?
Yes, provided you can complete the required arrival and departure procedures. A Singapore Changi Airport self-transfer may involve immigration, baggage collection and fresh check-in. Use an airside route only when your airlines confirm it is suitable for your itinerary.
Is Three Hours Enough for a Self-Transfer at Changi?
For a landside self-transfer on separate tickets, we would generally recommend allowing more than three hours. A delay, slow baggage delivery or check-in queue can quickly use up the available margin, particularly when you need to change terminals.
Do I Need a Singapore Visa for a Self-Transfer?
That depends on your passport and whether you must enter Singapore. If your transfer requires immigration clearance, the entry rules for your nationality apply. The Visa-Free Transit Facility has specific eligibility conditions and is not a blanket exemption for everyone holding an onward ticket.
Will My Bags Transfer Automatically on Separate Tickets?
Only rely on baggage transfer when the airline confirms it and the baggage tag reflects the agreed final destination. If your bag is tagged only to SIN, collect it in Singapore and check it in for the next flight.
Can I Self-Transfer with Hand Luggage Only?
Yes. Travelling with hand luggage removes the baggage reclaim and bag-drop stages, but the onward airline may still require landside check-in or document verification. Confirm this before booking.
Final Thoughts
A Singapore Changi Airport self-transfer can be worthwhile when the saving is meaningful and your schedule leaves room for disruption. The best preparation is to confirm your entry eligibility, baggage arrangements and onward check-in deadline before buying the tickets.
Give yourself time to complete the connection without relying on every stage running perfectly. When the saving is small or the onward flight would be difficult to replace, a protected booking or a longer stopover may be the more comfortable choice.